Are you someone who loves the concept of printing your smartphone photos? Well, you are not alone! We all love the aesthetic appeal and old-school charm of physical prints.
Nowadays, canvas printing is a popular concept that allows you to print smartphone photos on canvas to achieve artistic results. They give your photos a greater depth, better quality, and texture that is hard to accomplish on traditional printing paper.
And the best part is you don't need a professional service to turn your favourite photo into a canvas. As a matter of fact, most phones can take top-grade professional photos. This article will discuss the simplest method to canvas print your favourite Android or iPhone photos.
This is where the real work begins. Once you have chosen your photo, transfer them from your phone to the laptop/PC.
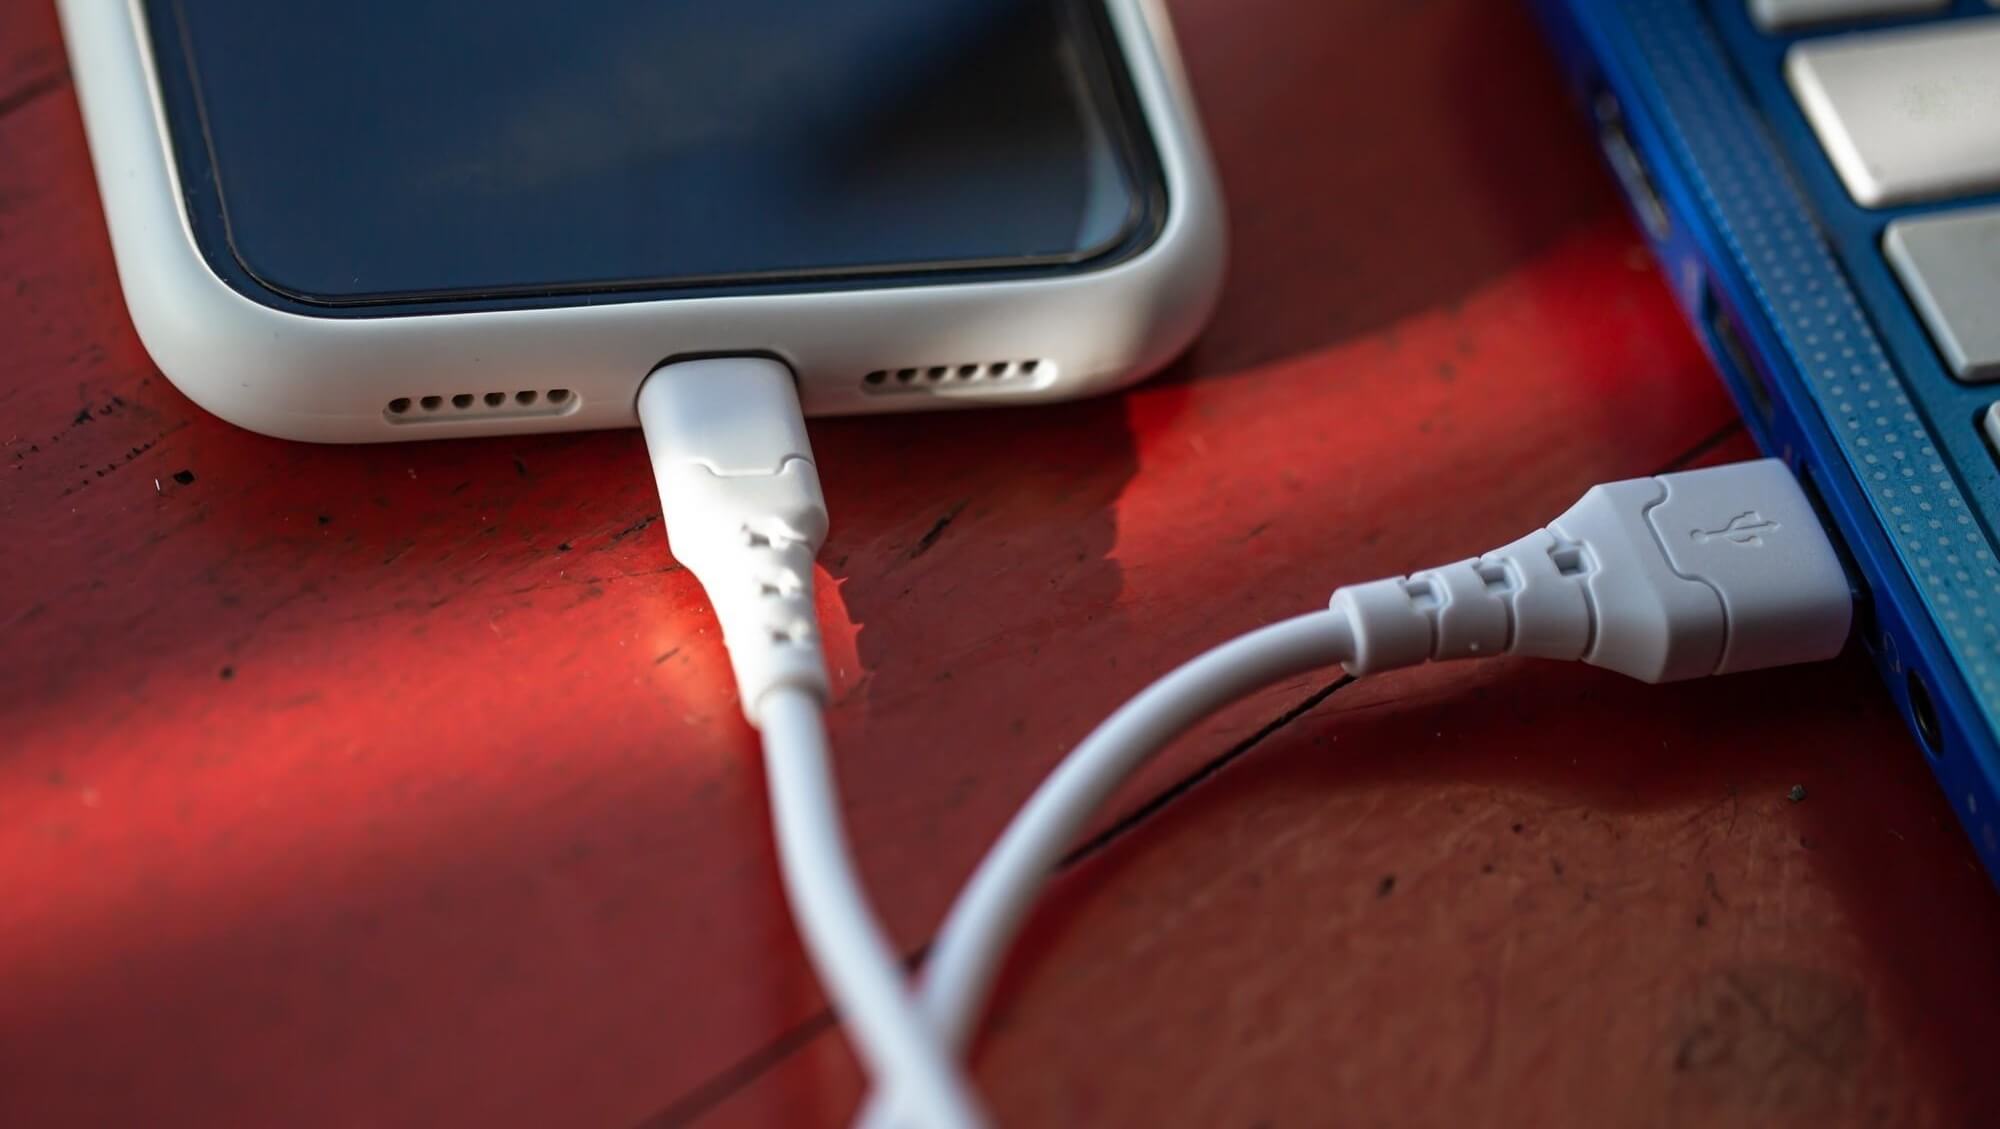
Use a USB cable (which in most cases is also your charging cable) to connect the phone with your laptop. The mobile device will ask permission to give your laptop access to the data present in your phone.
Now let's look at the process you need to follow for your specific device:
Transfer Images From Android
1. Once the devices are connected, your Android phone will ask permission for accessibility.
2. Click Allow Access to Data to continue.
3. Your laptop will show a pop-up that the device is ready for use.
4. Select import to locate the photos currently available on your phone.
5. Choose the photos that you wish to transfer. You have the option to select one and all. Locating the folder through Windows Explorer is also an option. You can find the photos under folders titled: DCIM, Camera, or Photos.
Transfer Images from iPhone
1. After establishing a connection, your phone may ask you, 'Trust This Computer.' Select Trust. It will recognize your device and make it available to use on a laptop.
2. Choose the DCIM folder to open photos.
3. Copy and Paste the photos from your phone folder to any other folder on the computer.
Once you've decided which image to print, You can use picture editing apps... such as Lightroom or Snapseed to improve its quality and make any necessary changes. Minor modifications to lighting, contrast, exposure, and shadows may enhance an already spectacular photo.
You may also resize or crop the image to fit the dimensions of your canvas. If you have an iPhone, there are two apps that can increase the resolution, change the dots per inch (dpi) and even compress photo size.
Compress Photos & Pictures - App store link
Big Photos - App store link
When altering the proportions of your photo, keep the size of the canvas in mind. It is usually preferable to enlarge the photo to larger than the canvas. As a result, you may always lower its size to fit the canvas while retaining its sharpness.
Once your canvas size and photo are final, move on to the next step: transferring onto the canvas. Take the print of your photo on an ordinary sheet of paper. Find a paper that is a few centimetres bigger than the canvas. This allows you to transfer the photo correctly and not leave empty spaces on the canvas on all the sides.
Apply a top-quality gel medium and coat it properly on the surface of your canvas. It is an essential step that ensures smooth photo transfer. Put your photos on the canvas and wrap the edges. To adjust the photo, press the paper on the canvas until there are no wrinkles and bubbles. Repeat the process until the page is smooth.
Finally, let the paper dry out for a couple of hours. You can leave it out there for at least 24 to 36 hours. Once the image has completely dried, use a wet sponge to dampen it. Avoid overuse of water. Just saturate it.
Peel off the paper gently using the rough part of the same wet sponge. Do not pressure the canvas as it might peel off the ink. After removing the paper, the image will be printed with a neat color precisely on the canvas.
After your canvas is printed, there is an option to add frames for aesthetics. You can hang the canvas as it is if you want to. However, there are multiple add-ons that depend on the decor of your room and preference. For example, you can use wooden and metallic frames with glass casings to protect the canvas from any damage.
But do remember that frames take additional space on the wall. If you have compact wall/shelf space, go with thinner frames. On the other hand, thicker frames give a vintage appearance despite taking more room. Choose one that matches well with the theme of your living space.
Canvas printing is a modern way of printing your digital photos. As you can see, it is a straightforward process to transfer the pictures from your phone and print them on a canvas. However, if DIY is not your thing, you can order affordable canvas prints from a professional and reliable company.
Just make sure the quality of the picture you choose is top-notch before printing them. So, dig up the memorable moments from your phone's gallery and display them so that you (and everyone) can admire them!
Using Physical Filters On A Smartphone Camera! - Link Here
Photo Distortion: Avoid and Fix in Smartphone Photography - Link Here
Reduce Image Noise & Artifacts | Snapseed & Lightroom Mobile - Link Here
4 Powerful Mobile Photo Sharpening Secrets Using Snapseed - Link Here
Accelerate your learning or give the perfect gift to a loved one -
Featured and mentioned on these sites


